Working with Lists
Use lists for more convenient management of your connections. There's a Default list available by default.
Creating a New List
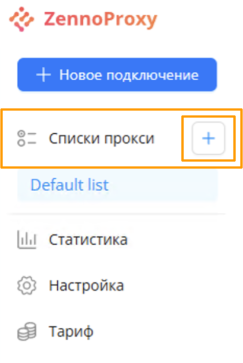
To create a new proxy list, click the "+" button next to "Proxy Lists" in the left navigation sidebar.
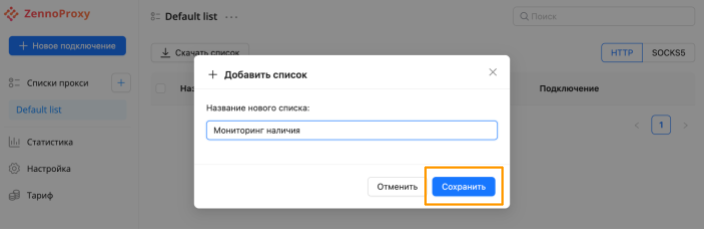
Once you click the button, a popup window will appear. Type in the name of your new list in the input field. For example, you could name it "Availability Monitoring". Then hit "save". Or "cancel" if you changed your mind.
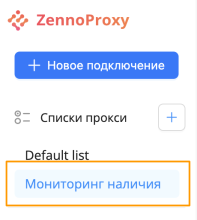
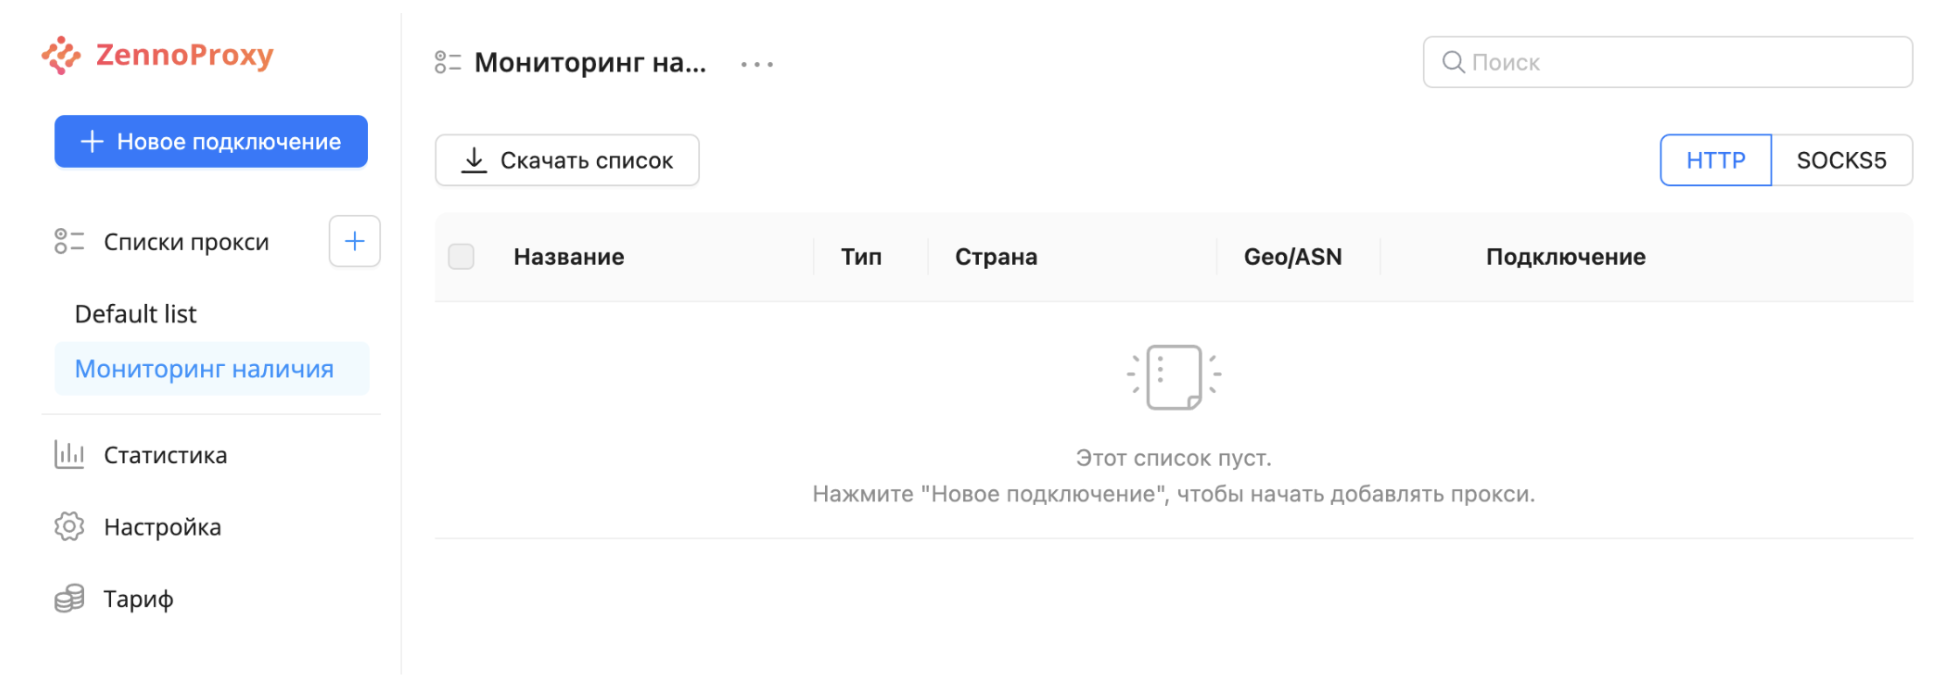
Once you’ve clicked "save", your new list will show up in the navigation sidebar. Click on your list’s name to open it. The active (open) list will have a blue background highlighting its name.
Right now your proxy connections list is empty, so let’s create some. How to do this is described in the section “Connecting a Proxy”.
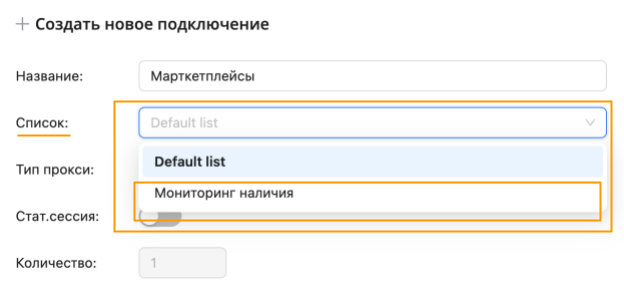
Now, when creating a new connection, you can select which list it goes into.
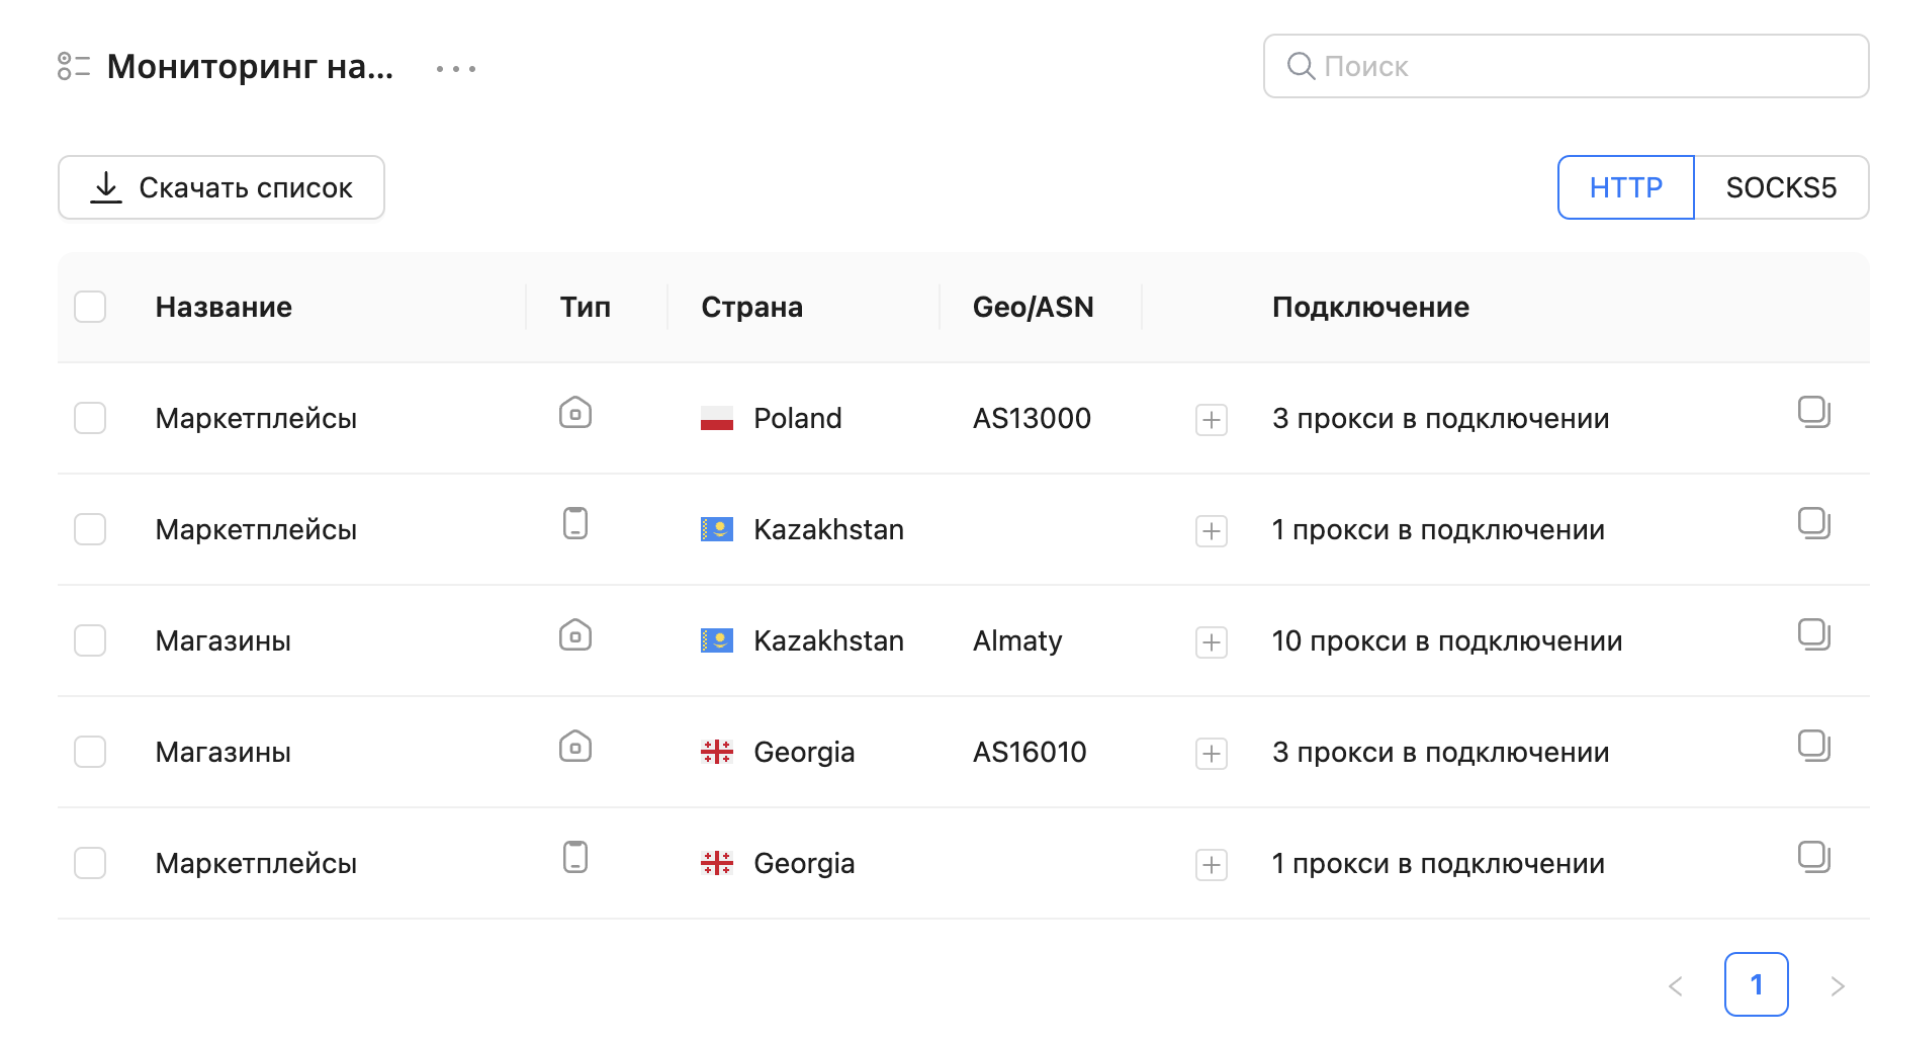
After you've added connections, you’ll see their rows appear in the selected list.
Connection Rows – Viewing and Copying
For each connection, you can immediately see:
- the connection name
- the connection type (residential – house icon, or mobile – phone icon)
- country
- region or ASN
- number of proxies in the connection
Check out the "+" button. Click it to open up the list of actual proxy lines.
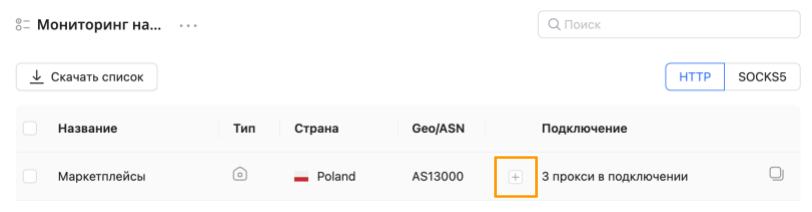
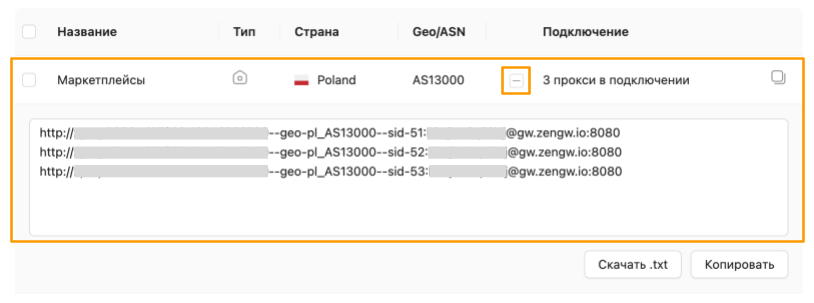
These are the lines (or line) you use for your tasks.
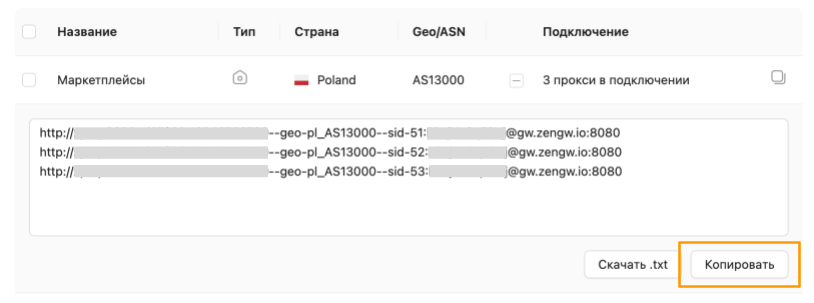
Click "copy" to copy all the proxies in this connection to the clipboard.
Or you can copy all the proxies in a connection by simply clicking the icon at the end of the row (without expanding the whole list):

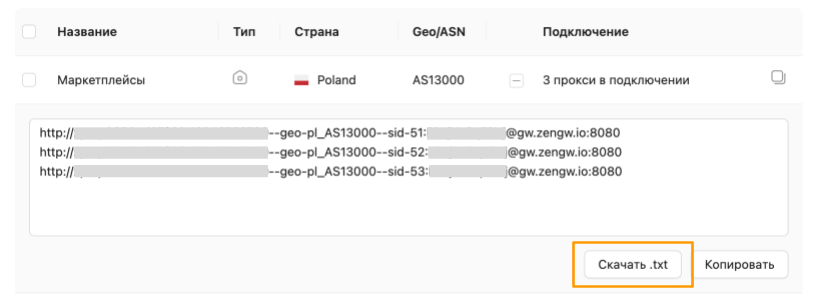
If you want to save the connection’s proxies directly to a file, click "Download .txt".
Connection Line – Details
Maybe you’re wondering what exactly is in the line.
A typical, simplified proxy connection string looks like: protocol://<login>:<password>@<host>:<port>
Here's an example:
http://abcd1234abcd1234abcd1234--geo-pl_AS13000--sid-101:aAbBcCdDeE@gw.zengw.io:8080
What does each part mean?
| protocol | login | password | host | port | |||
|---|---|---|---|---|---|---|---|
http:// | abcd1234abcd1234abcd1234--geo-pl_AS13000--sid-101 | : | aAbBcCdDeE | @ | gw.zengw.io | : | 8080 |
socks5:// |
And the login part specifically contains:
| login | |||||
|---|---|---|---|---|---|
abcd1234abcd1234abcd1234 | --pool-mobile | --geo-pl | region / ASN targeting | --sid-101 | |
| your client id* | if it's a mobile proxy | country targeting*:--geo-country code | _mazovia_warsaw | if region/city targeting | if it's a static session |
_AS13000 | if targeting by ASN | ||||
* the bolded parts are required and will always be included in the login; the other parameters get added depending on your chosen connection settings
Keep in mind, your id is a permanent identifier tied to your profile.
It’s very important not to share or reveal your connection lines, because somebody could figure out your data and use it without your knowledge.
If this happens or you have doubts, you can reset your connection lines in settings. Read here how.
Connection Lines – Switching HTTP / SOCKS5 Protocol
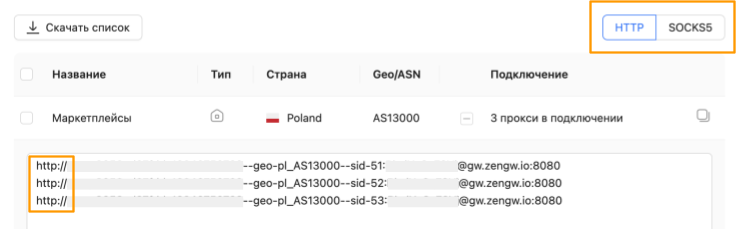
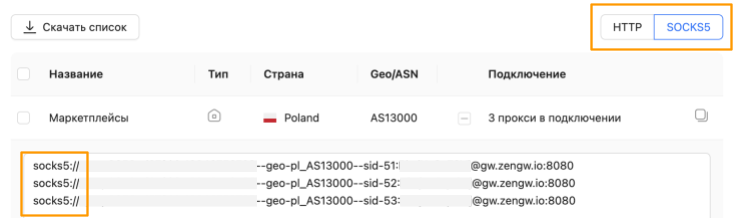
By default, lines use the HTTP protocol. If you need to use SOCKS5 connections, switch the protocol in the top right corner above the table. The protocol applies to all connections in the list.

After changing this option, the protocol in the proxy lists changes.
BEFORE
AFTER
Connection Lines – Changing the Mirror
If you can’t connect to a proxy (including from within Russia) or are having slow proxy speeds, use mirrors to switch servers.
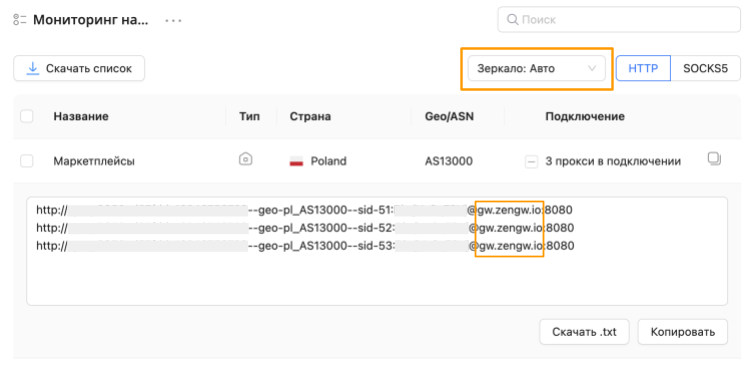
You can change the mirror in the top right corner above the table, to the left of the "http | socks5" protocol settings. Changing the mirror applies to all connections in the list.
By default, the main server gw.zengw.io is used, which corresponds to the “Auto” mirror.
Click on the highlighted area to change the mirror. A dropdown menu with mirrors will appear. Select one of them.
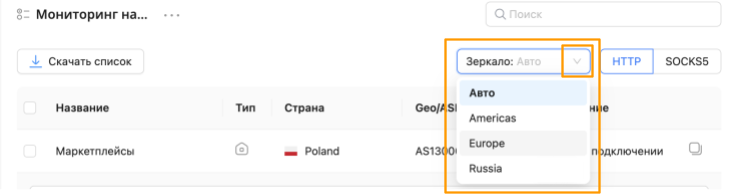
Here’s how the mirror names in the dropdown correspond to the servers:
| Auto | gw.zengw.io |
|---|---|
| Americas | gw-us.zengw.io |
| Europe | gw-eu.zengw.io |
| Russia | gw-ru.zengw.io |
Actions with the Connection List
Search
If you have a large list of connections, you can use search.
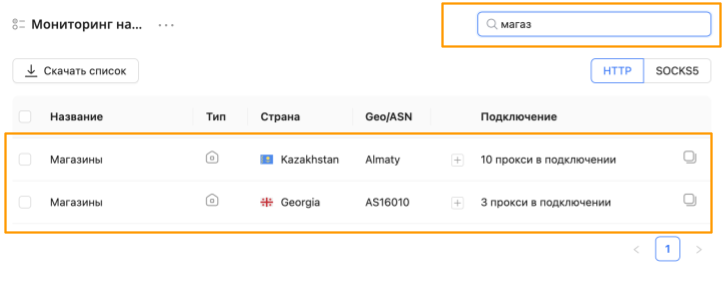
Search works by connection name or country. Just enter your keywords in the upper right corner next to the magnifying glass icon.
For example, let’s filter connections by shop. As soon as you start typing "shop," the list will get filtered down to just the relevant connections.
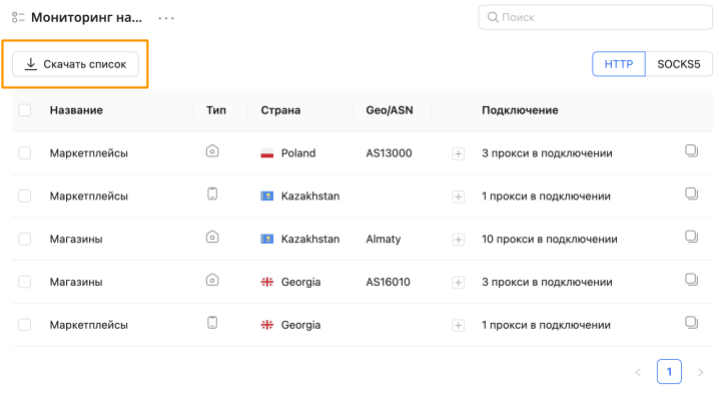
Download List
You can download your list of connections in a few ways.
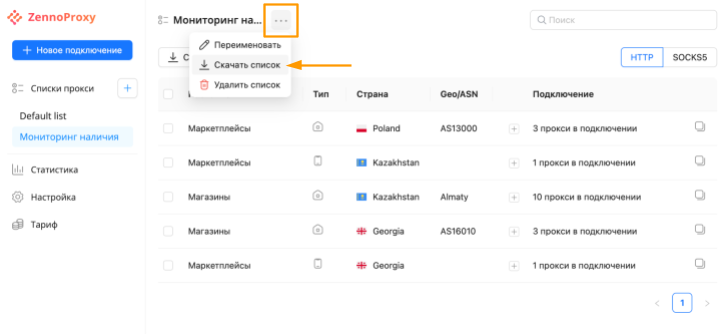
- Click the "Download List" button to save all connections at once to a file.
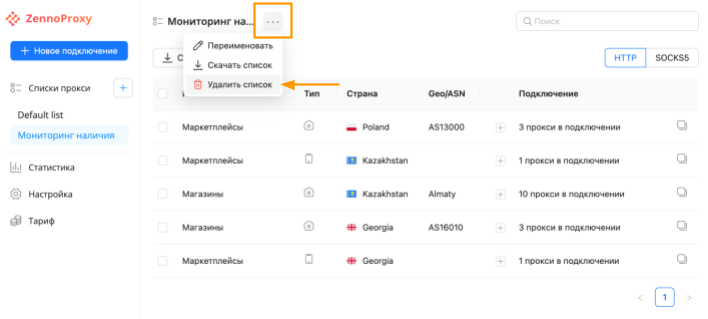
- Or do it from the three dots menu next to the list name.
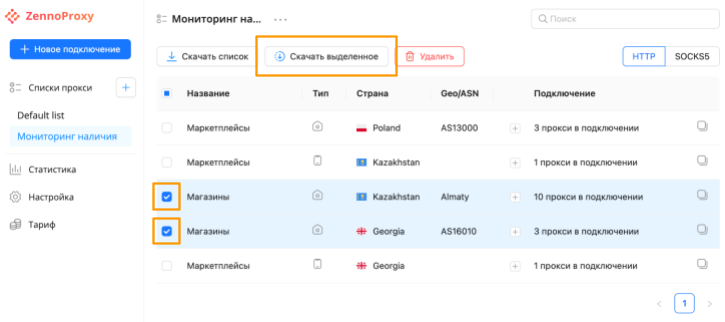
- If you only want to download certain lines, check the boxes next to the desired lines and in the menu above the table click the button
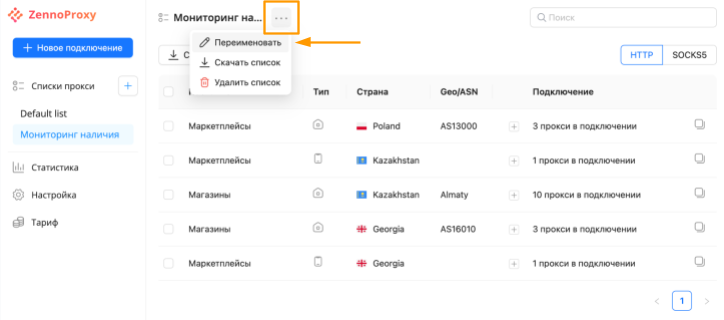
Rename List
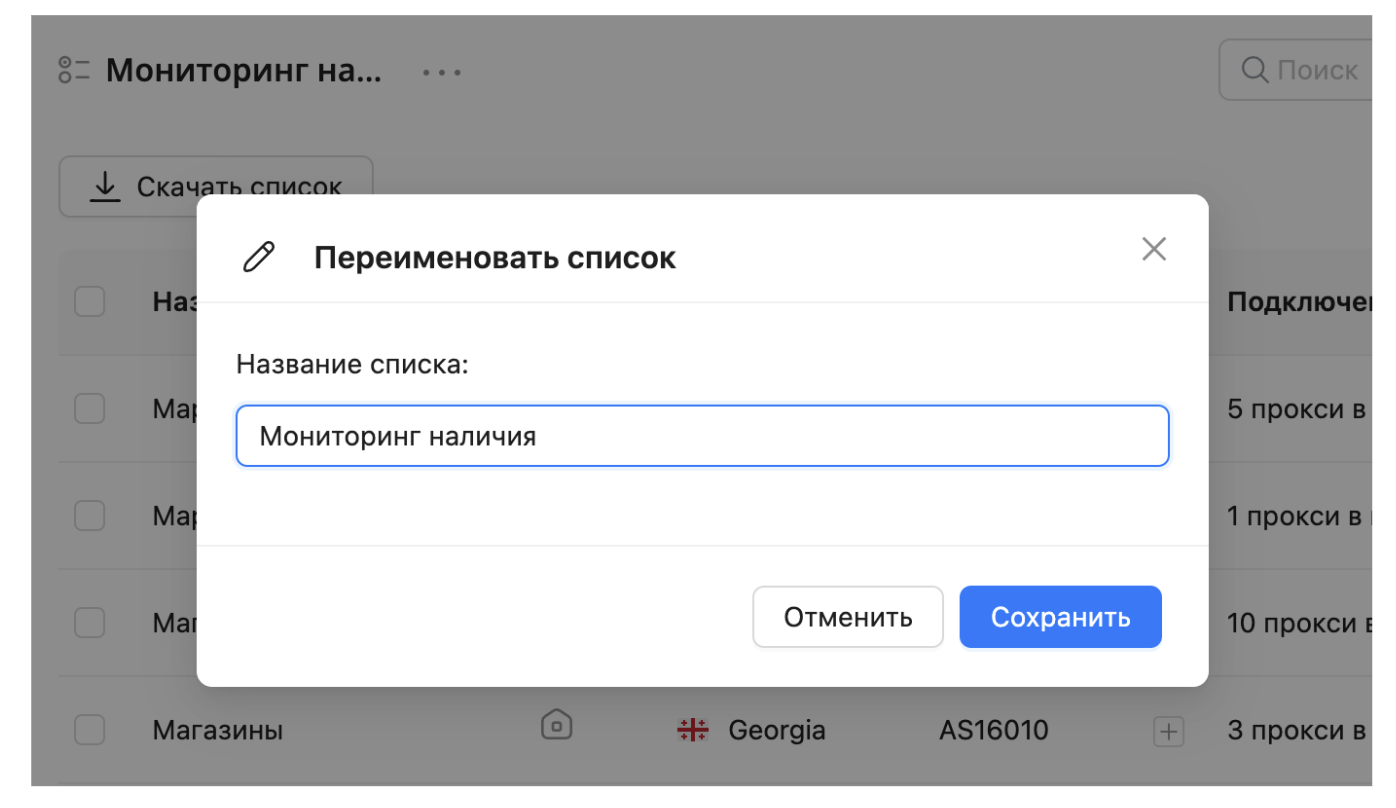
If you want to rename a list, you can do that from the menu next to the list name. Click the three dots and then "rename".
A familiar popup will appear. Change the name and click "save". Or cancel the change.
Delete List
You can delete a connection list in two ways.
- In the menu next to the list name, choose "Delete List".
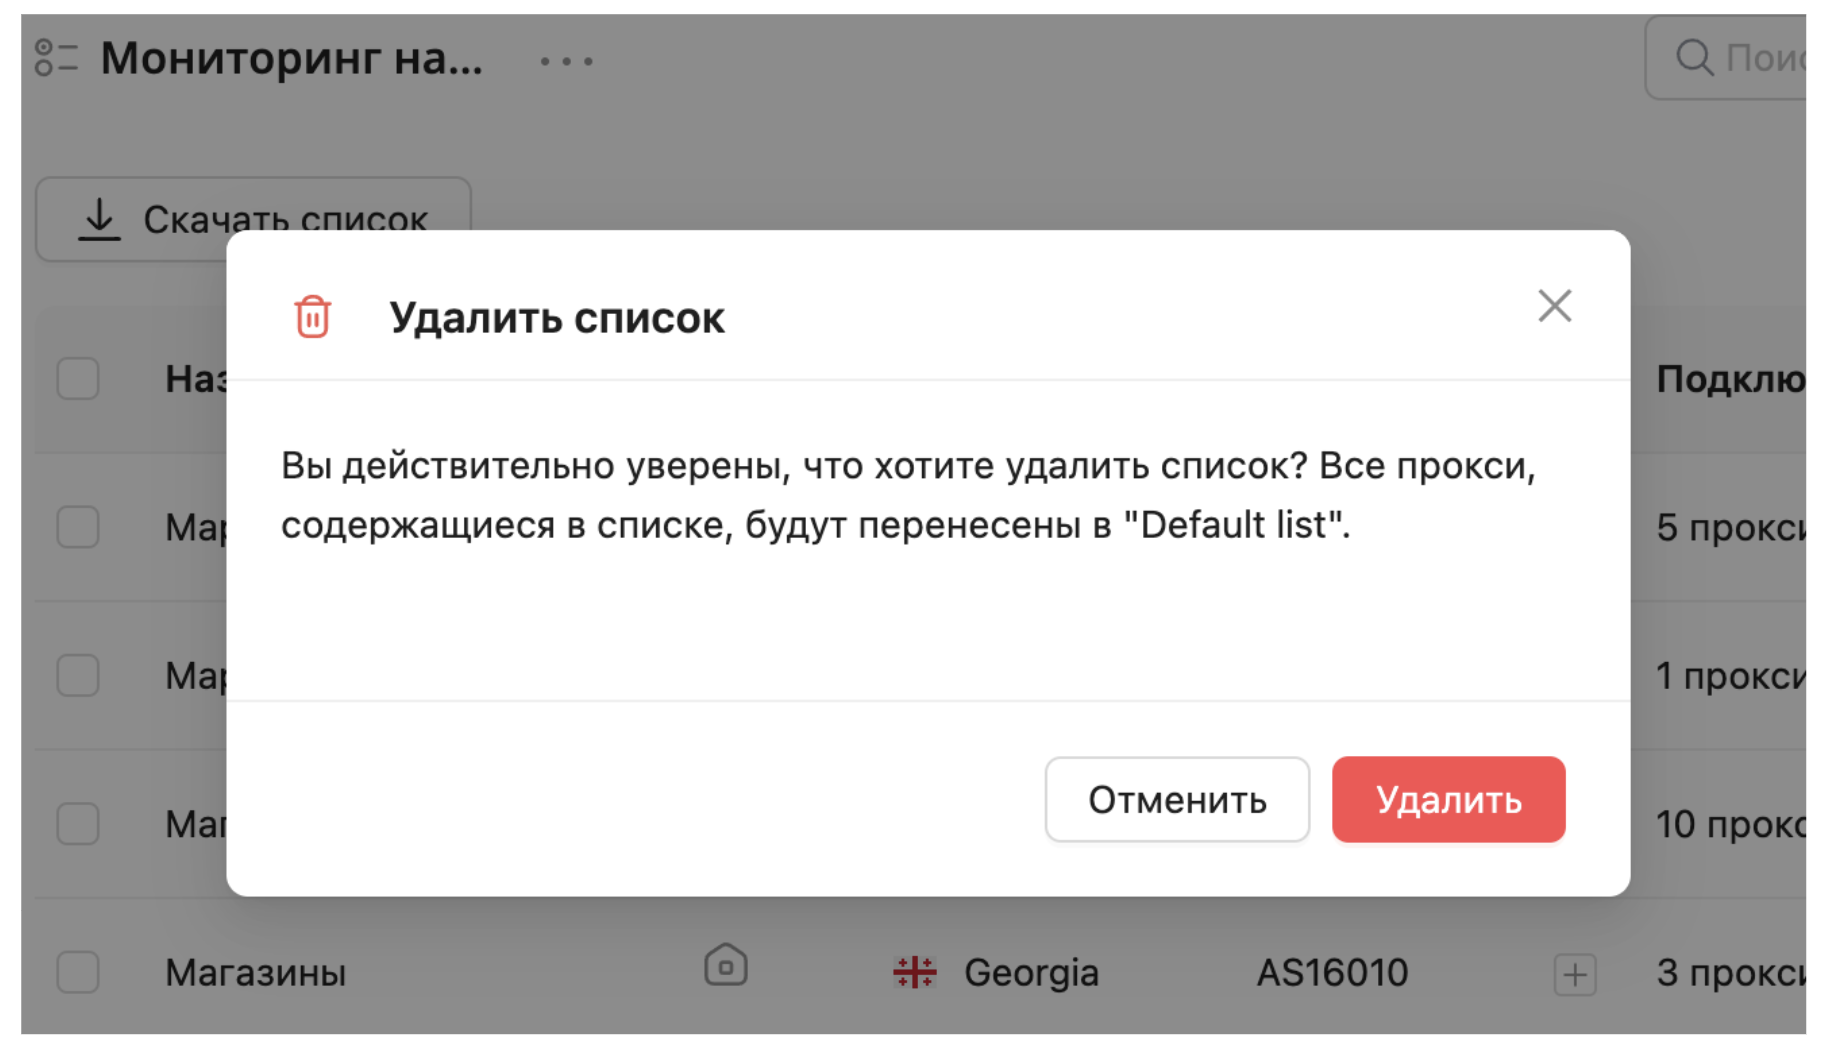
A popup will appear with a warning and a prompt for confirmation. Keep in mind, when you click "delete", all proxies in the list will be moved to the "Default list".
Here’s another option:
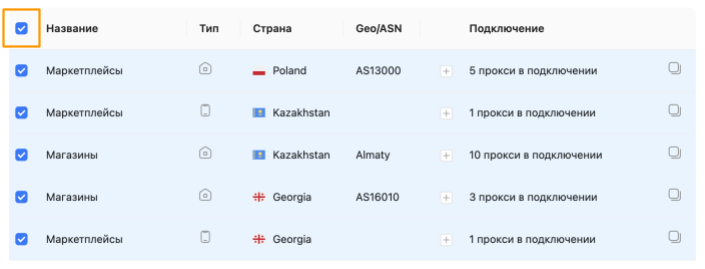
You can select a particular line or lines by checking the box next to the line in the list. Just click the square – a check will appear, and the line is selected.
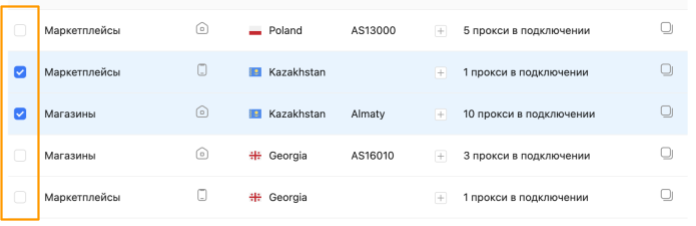
Or check the box at the top of the table to select all connections in this list.
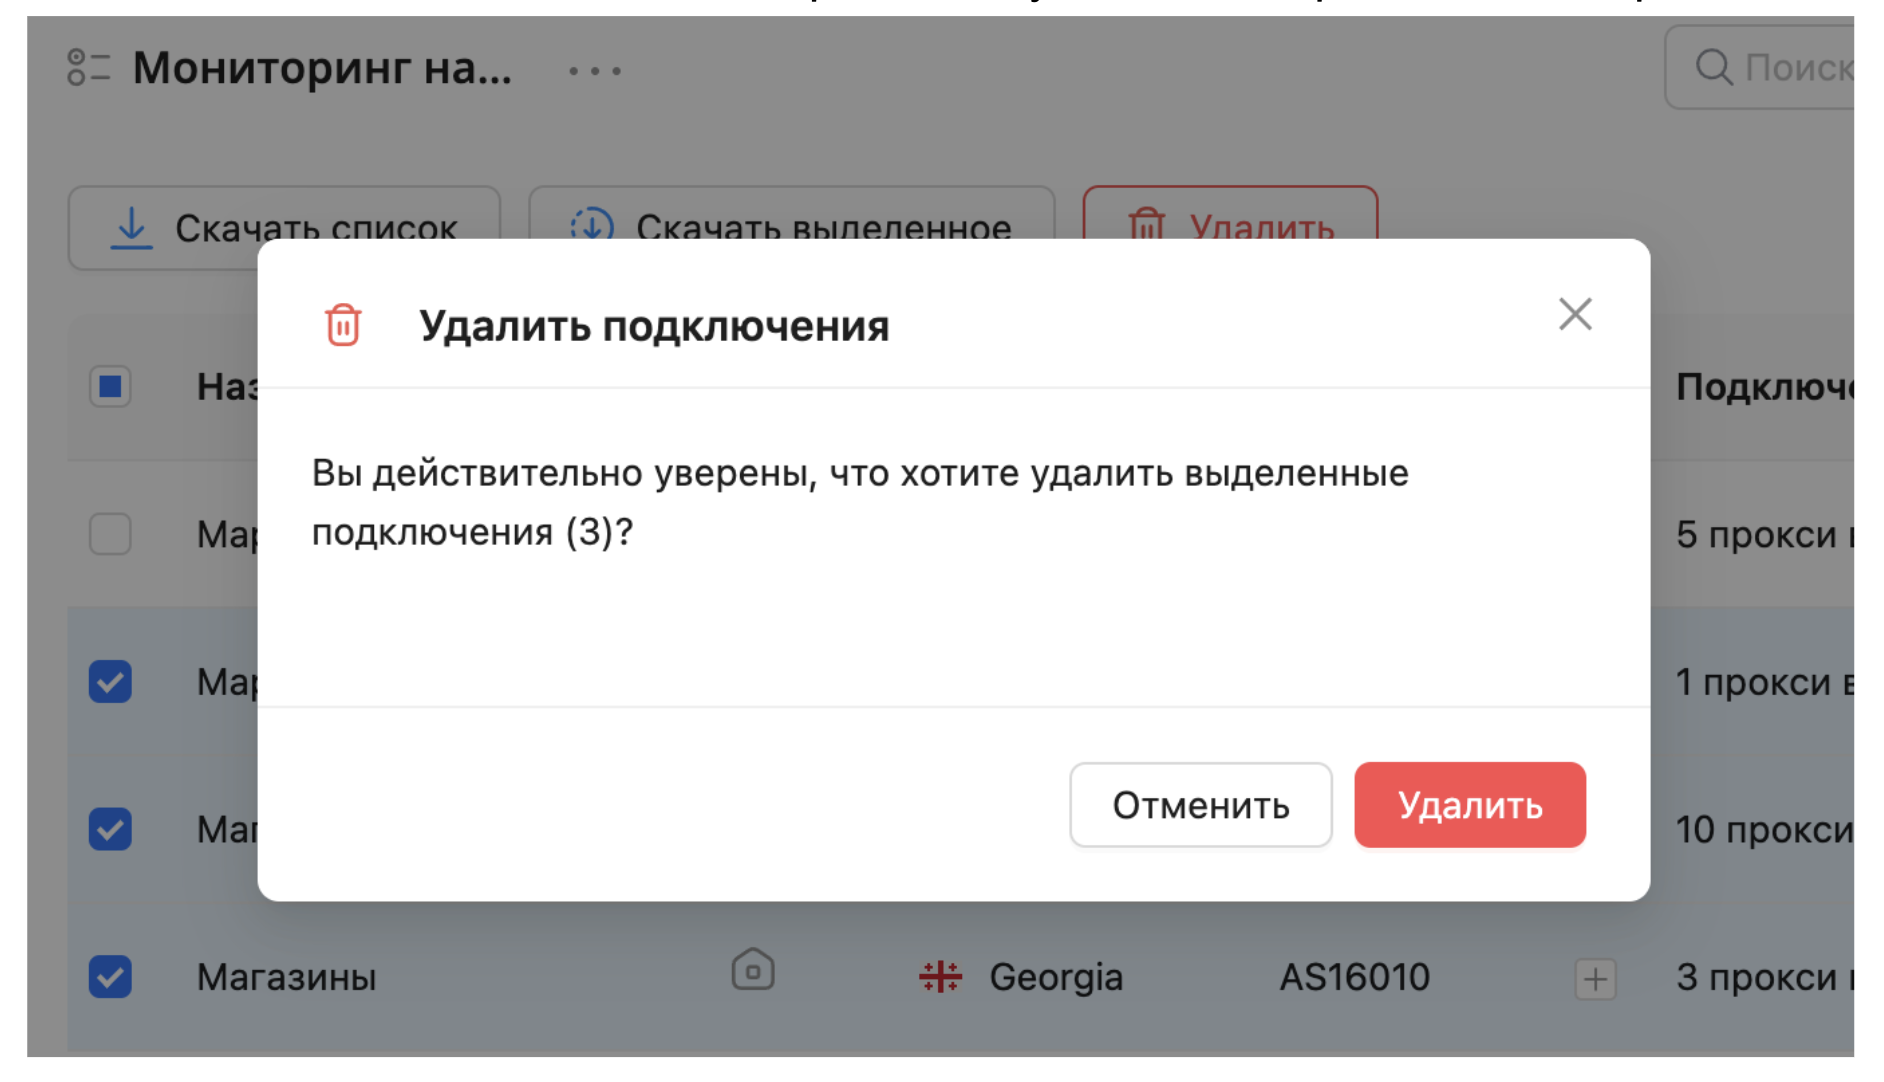
Once you've selected at least one line, a menu will show up at the top. Click the "delete" button.
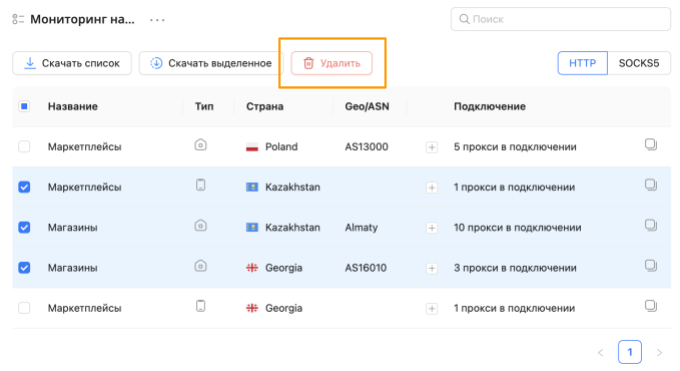
A popup will ask you to confirm deletion of the selected lines.